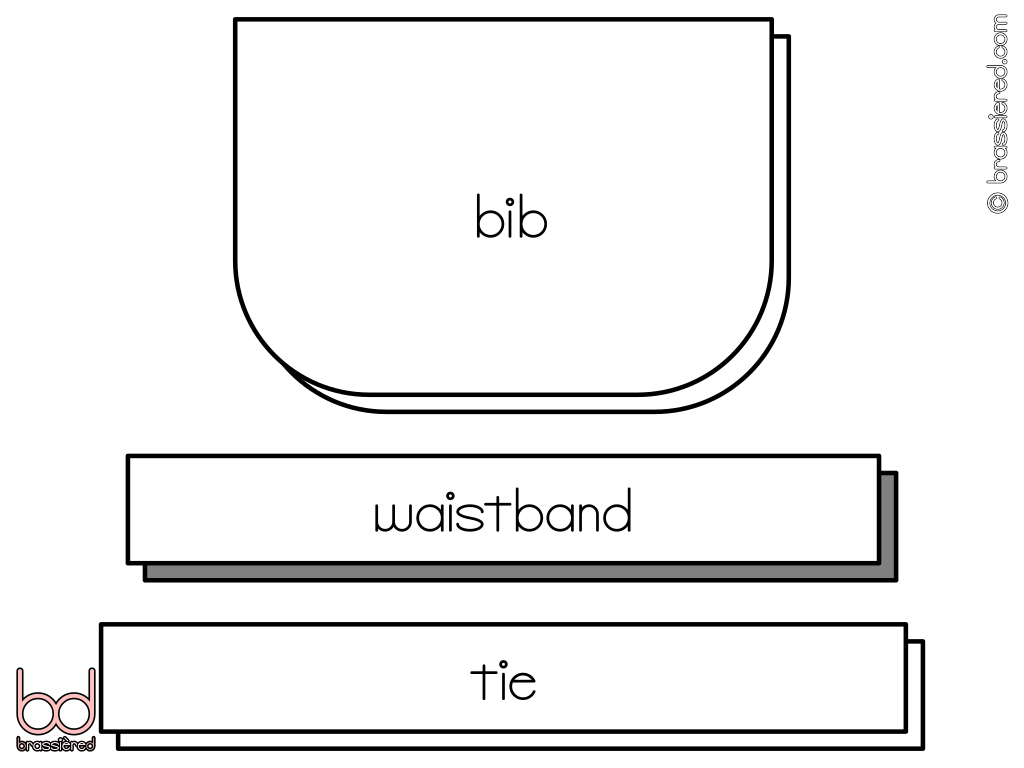
Cutting out the pieces for your maid's apron
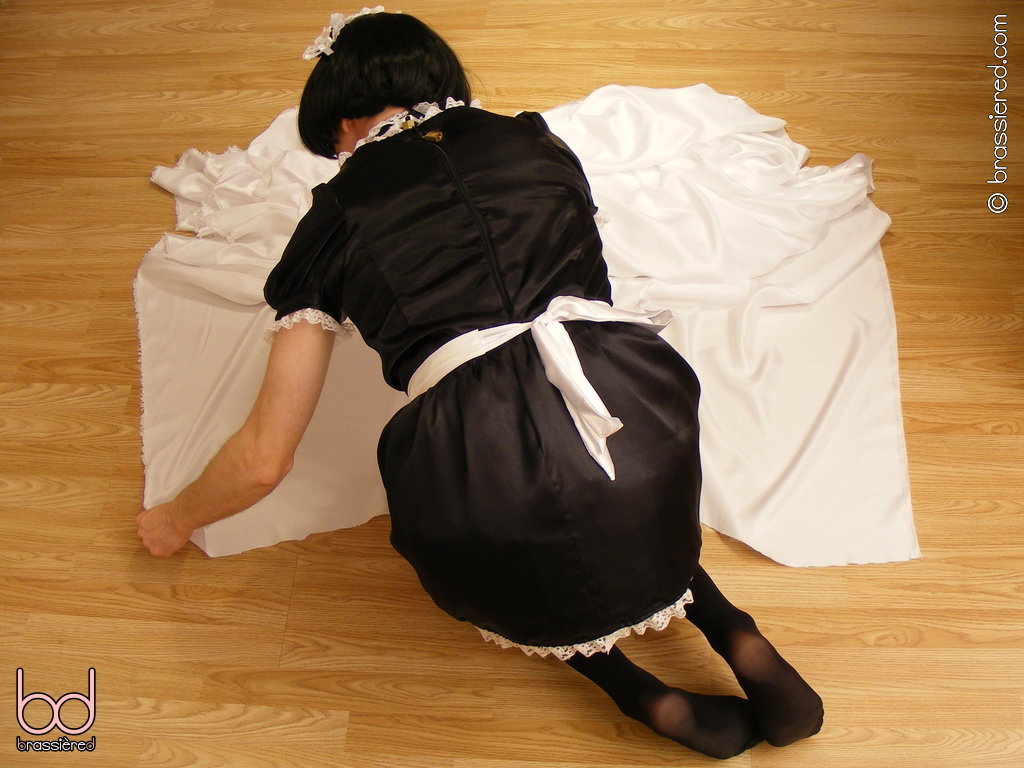
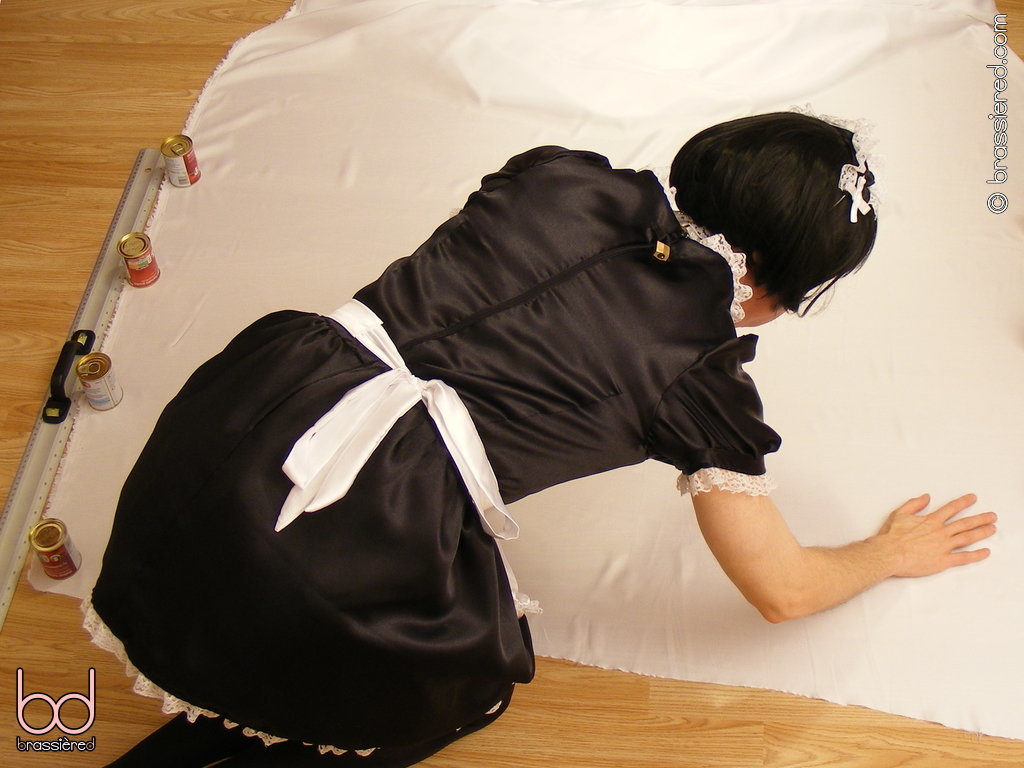
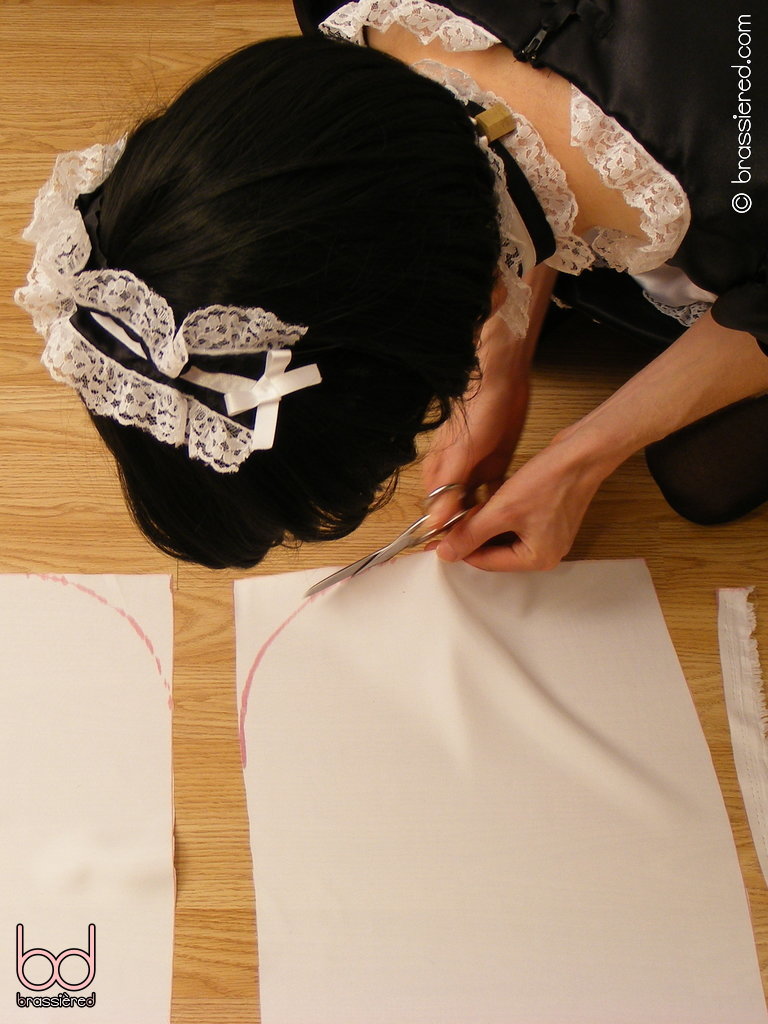
In Figure 4.2, my sissy maid husband finds himself in something of a fix - kneeling on the floor, trying to straighten five metres of shiny white satin while locked in his maid's uniform. Where is a feminized man meant to start when faced with so much fabric?
If you look online for how to cut material from a pattern, you'll find people pinning pieces of paper to the fabric before cutting around them, folding the material in two when they need to mirror a template. It's a process that makes sense in principle, but not one that my husband had much luck with in practice, especially for the long strips we'll need to make an apron. At brassièred, we believe in writing about only what we have tested ourselves, rather than simply repeating what others say work. As such, my husband will be adopting a different approach - one that may be unorthodox, but is nevertheless effective.
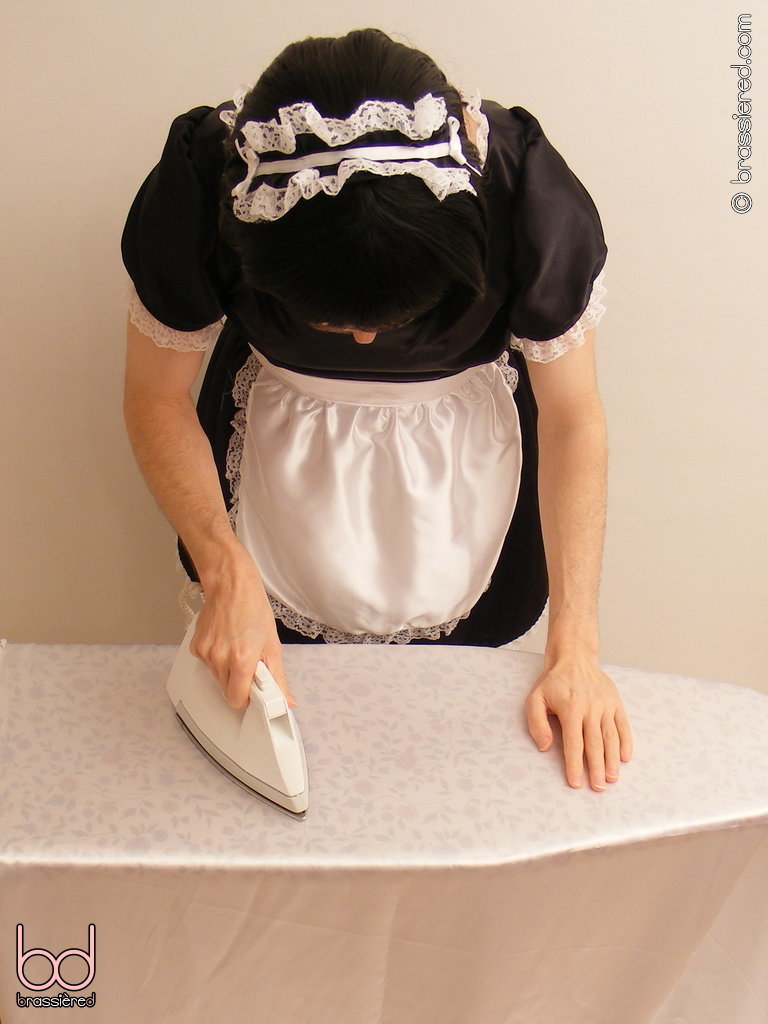
Regardless of which method you use, you'll want to wash and iron your fabric first, as my husband does in Figure 4.3. As a maid, you should be used to doing so with sheets, and a length of satin is little different. Having been stored on a roll before being bundled into a bag, however, it's likely to have much more in the way of creases, and these need to be removed before you can even think about cutting it.
Laying out the fabric
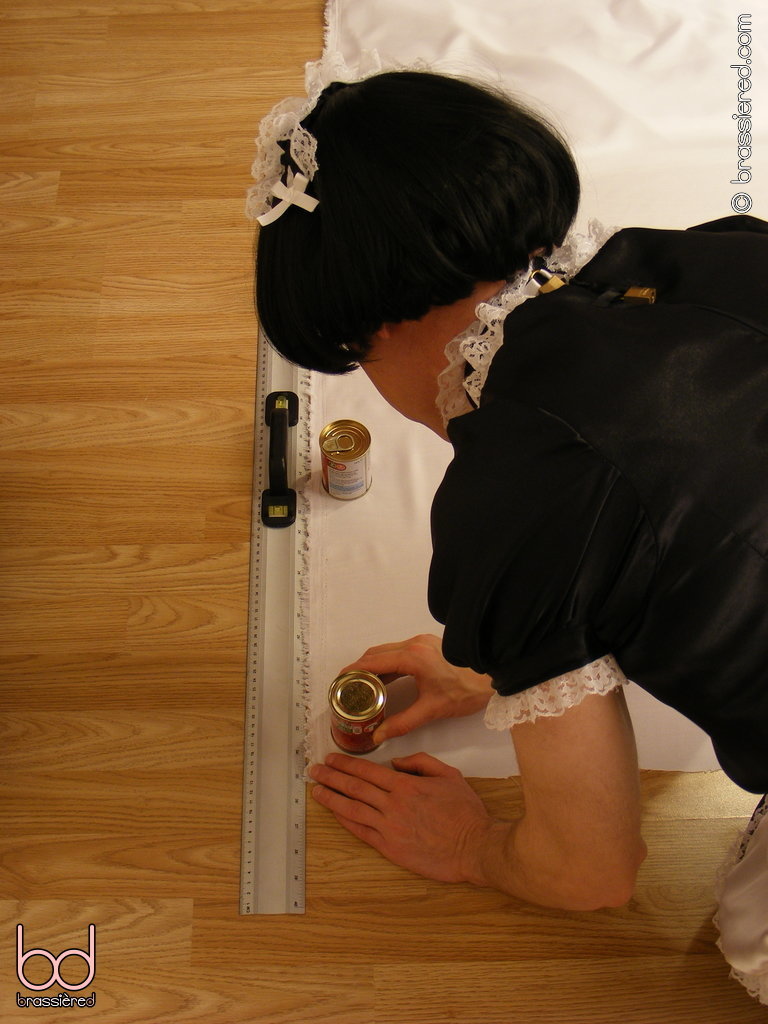
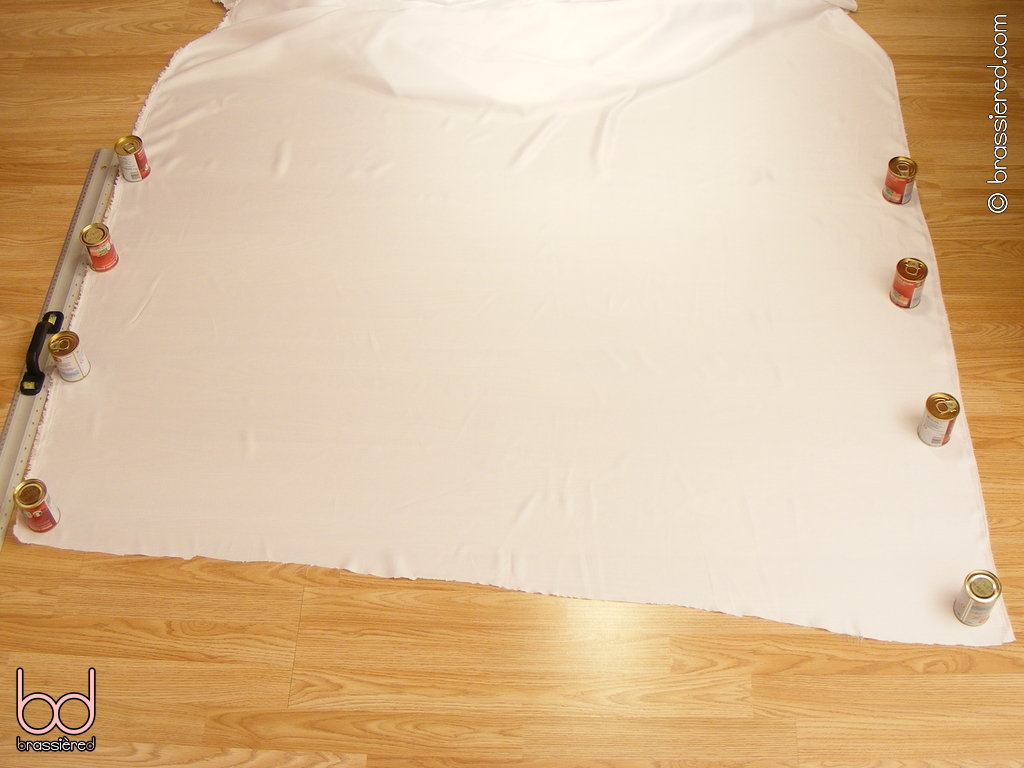
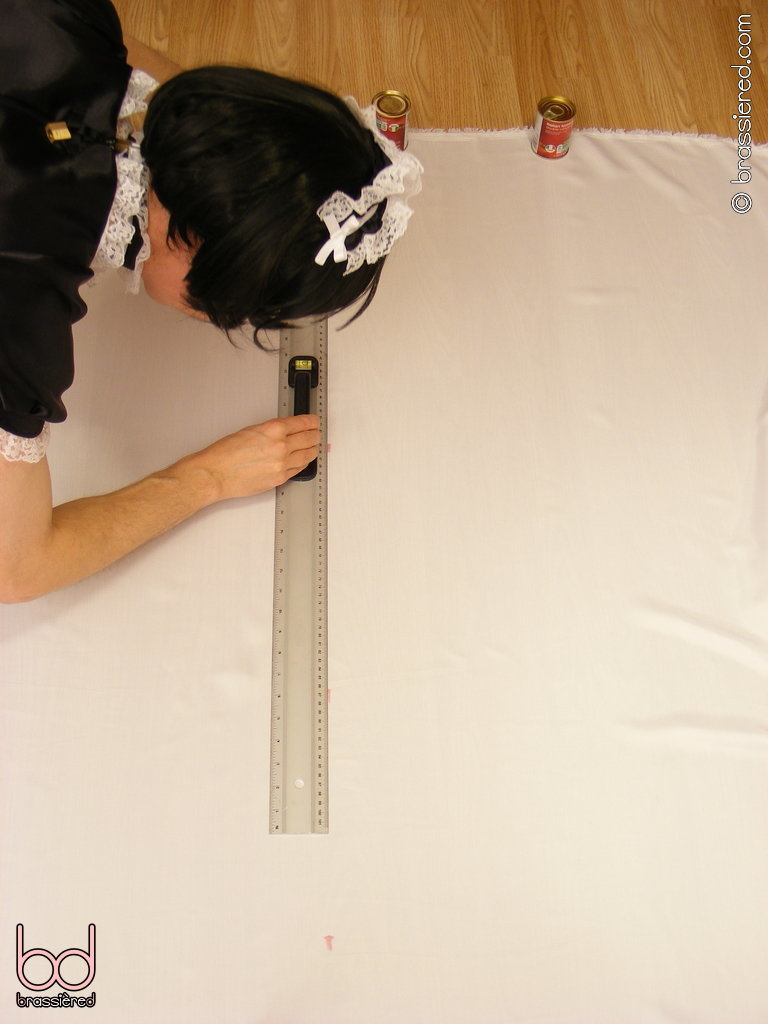
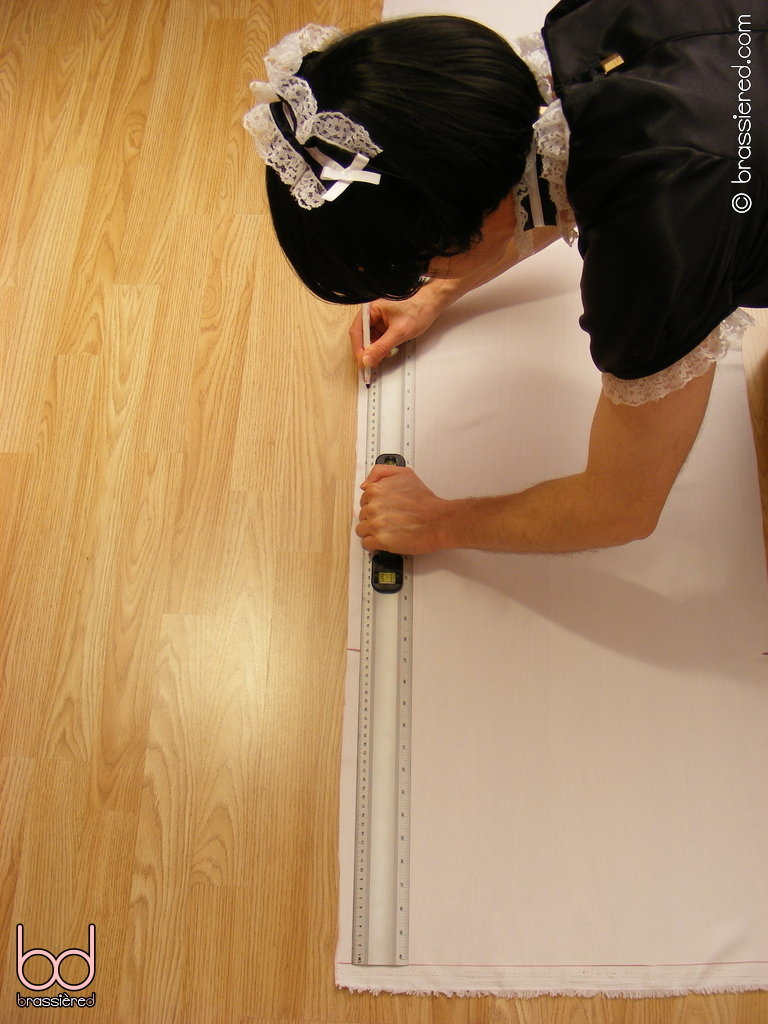
A recently cleaned floor is ideal for laying the fabric out flat, but a large table may also suffice. With the right or shiny side down, align one of the selvedges (the finished edge of the fabric that does not fray) with a straight edge, like the long ruler that my husband uses in Figure 4.4. To keep the material from moving once you've got it in the right position, weigh it down - small tins from the pantry work very well for this.
Having established a straight edge along a selvedge, smooth out the fabric by systematically working any wrinkles to the other side, as my husband demonstrates on his hands and knees in Figure 4.5. Don't worry if the bottom edge isn't perfectly straight - it's unlikely to be, thanks to how it will have been cut from the roll, but we'll sort this out shortly.
When you get to the other side, make sure that its selvedge is straight too, then weigh it down as well - Figure 4.6 shows the finished sheet of satin. If you're working with a lot of fabric, like my husband is, you don't need to flatten the entire length - merely the first metre or so. Should you need to cut more, as he will when he subsequently makes a petticoat, you can always come back and repeat this process again.
Cutting out strips
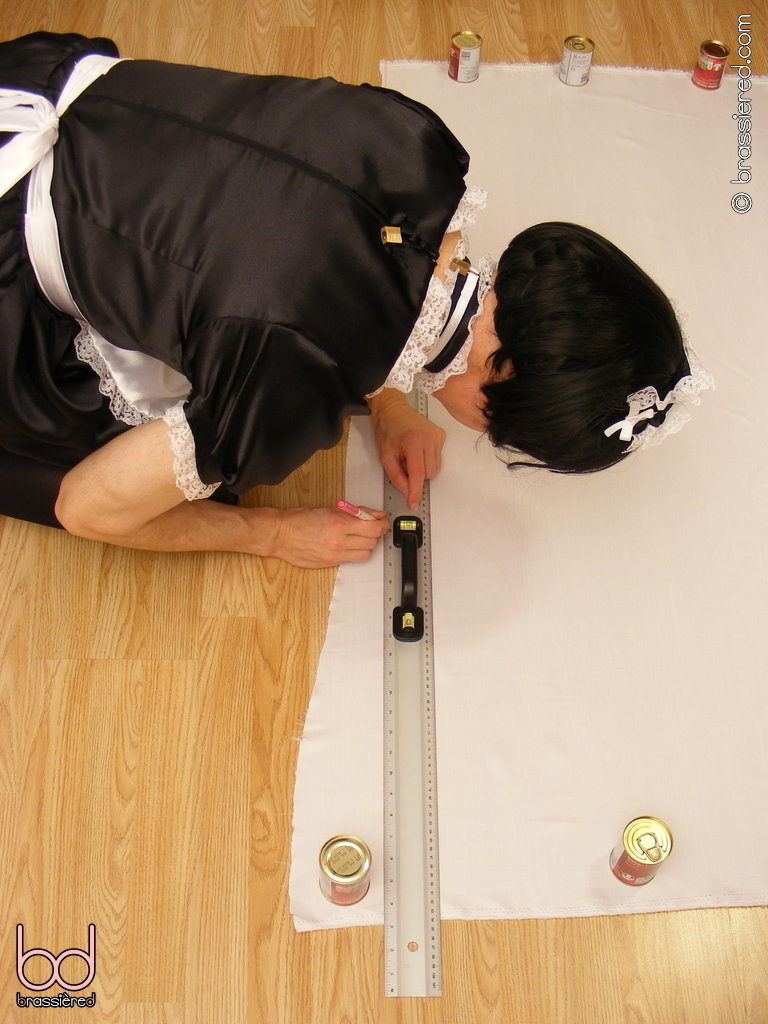
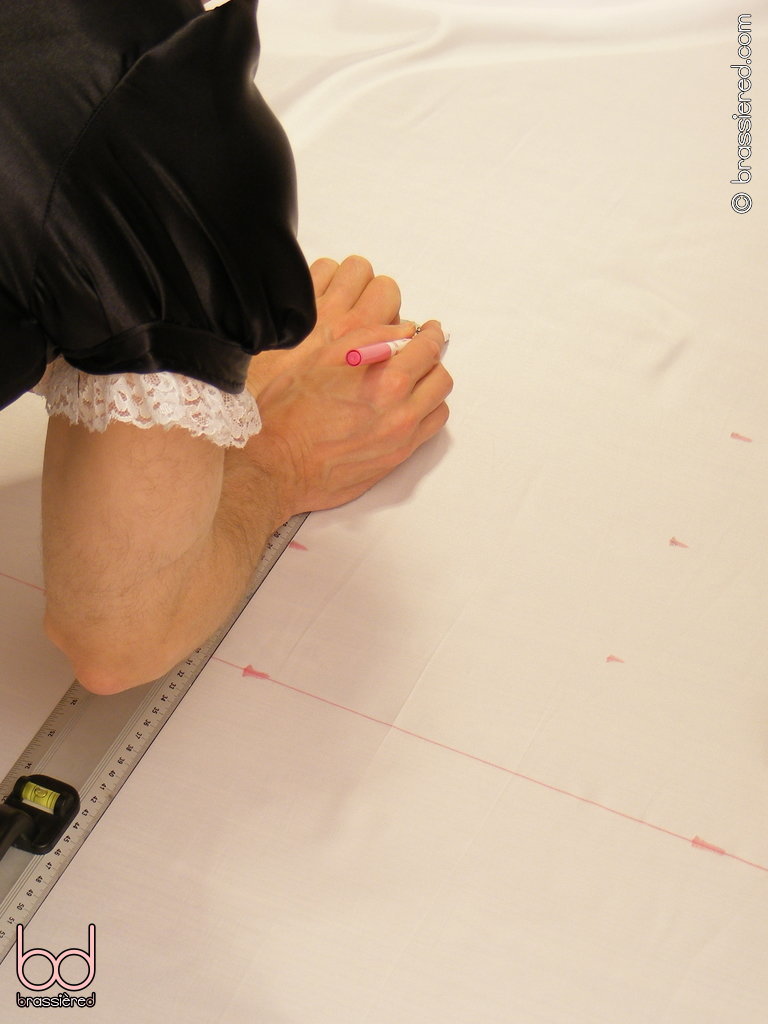
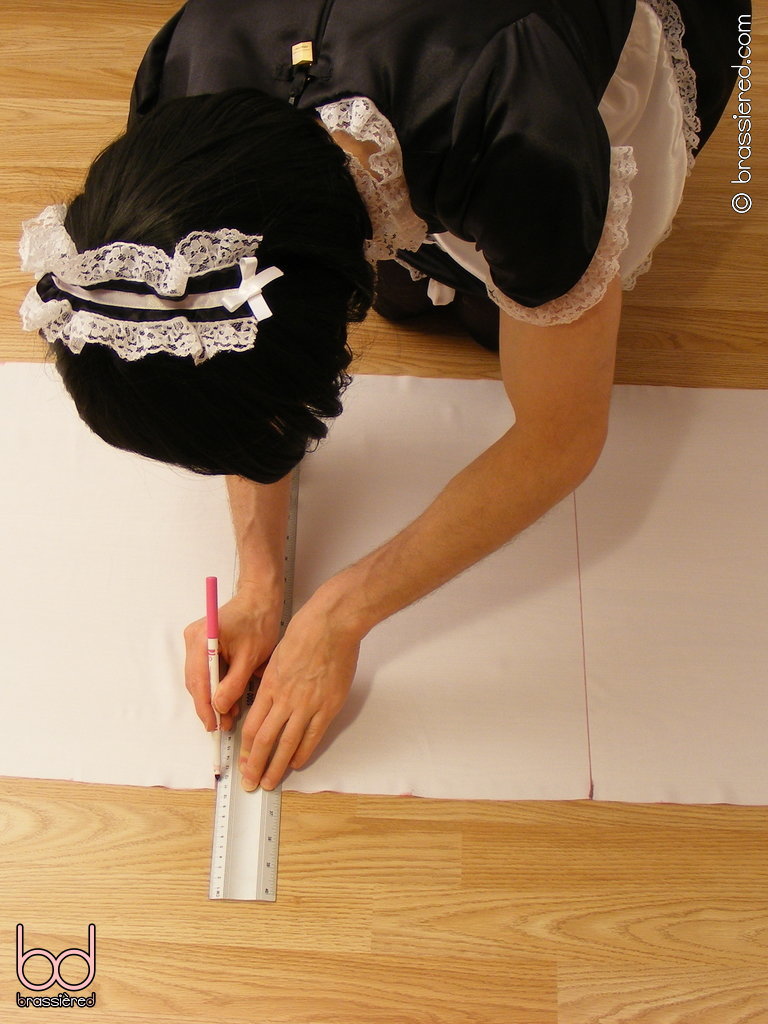
Using a long ruler, draw a straight line at right angles to the selvedge all the way across the bottom of the fabric. If you've done things right, this should follow the weave of the material reasonably closely. In Figure 4.7, my husband discovers the original edge of his material was anything but straight, but this doesn't matter - the uneven slope will soon be discarded.
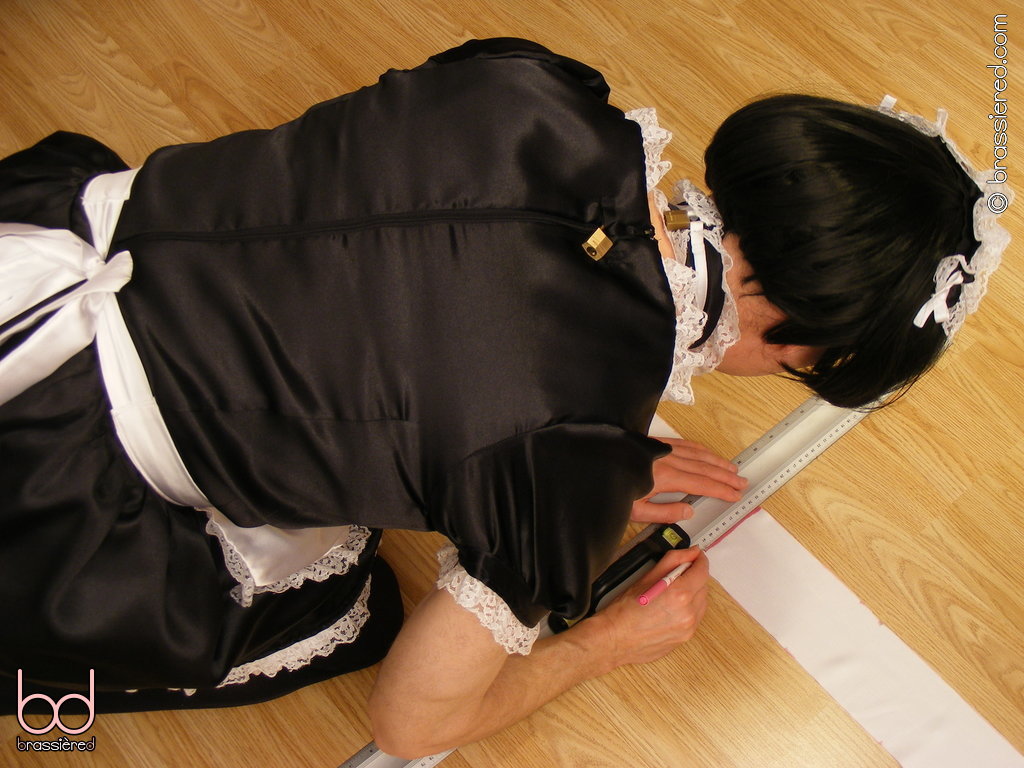
Next, we'll be marking off a strip from which we'll cut the bibs. Measure up at right angles to the bottom line near the selvedge, and mark a point 50cm / 20” from the line you've just drawn. Rather than doing so at just the start and the end, repeat the process along the length of the fabric for accuracy, then align the ruler with the resulting series of points, as my husband demonstrates in Figure 4.8. From here, draw a second line, again at right angles to the selvedge, to mark the top of the strip.
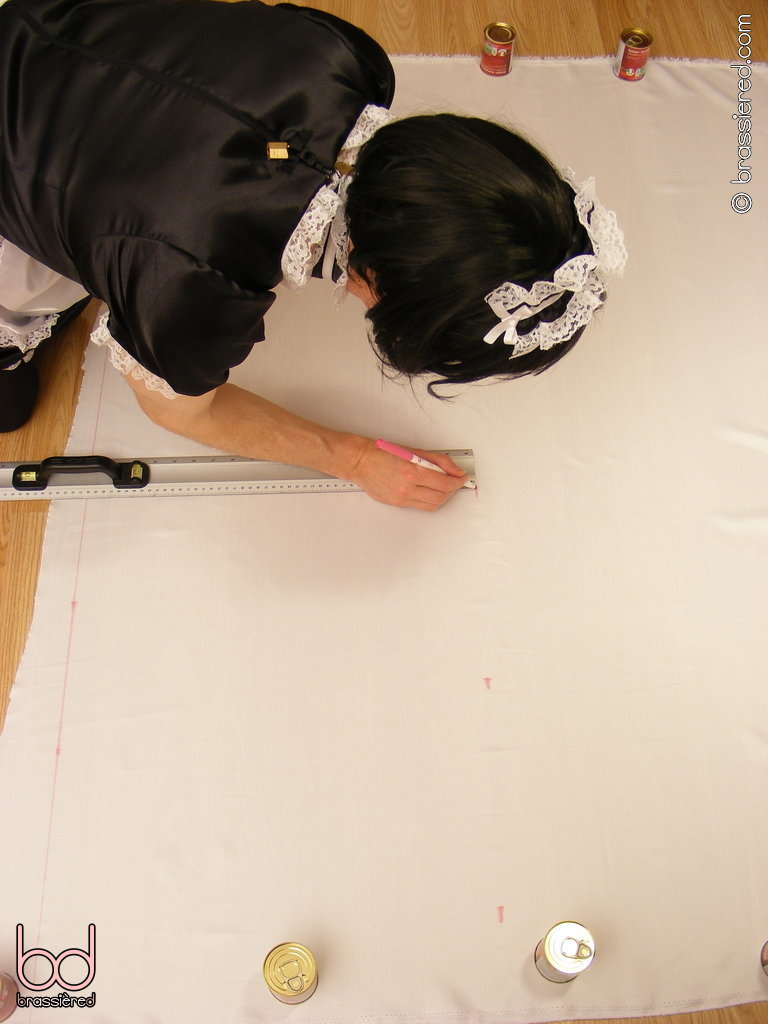
Repeat this process three more times, measuring up 10cm / 4” each time (Figure 4.9). These strips will in due course become the waistband and the ties of your apron. If you're wondering why husband is marking three strips when he'll be cutting one of them in half to make two ties, it's because his measurements allow him to make two waistbands out of another, such that cutting a third strips lets him make two aprons. A male maid can never have too many aprons, with planning ahead like this the key to pleasing your mistress!
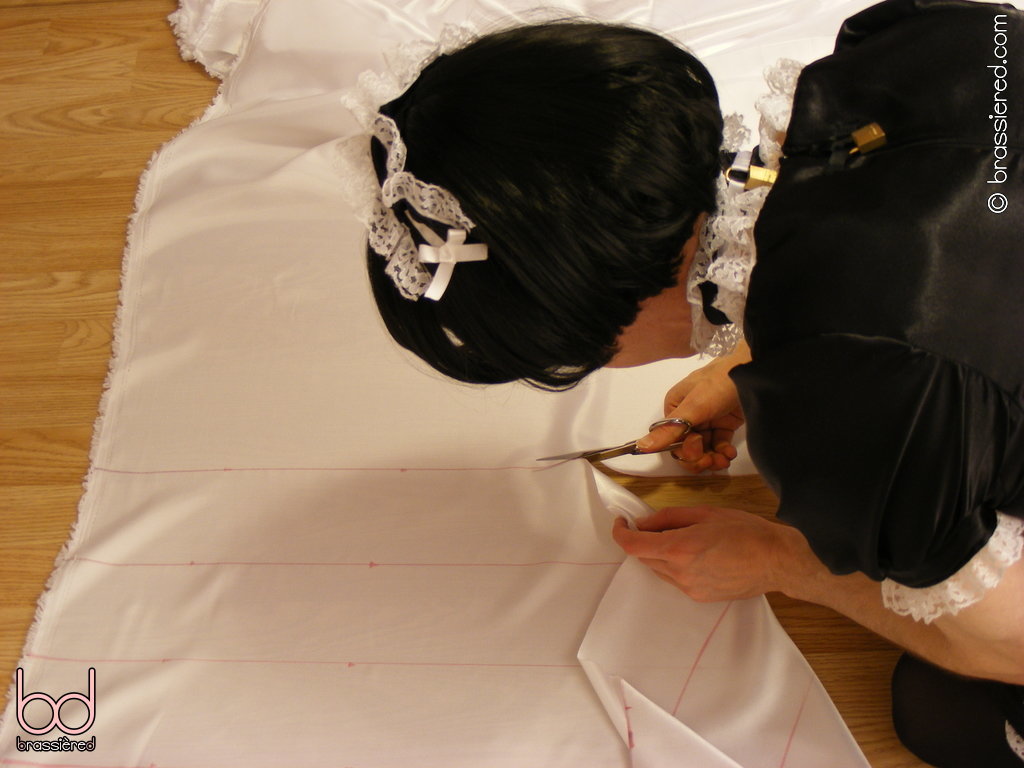
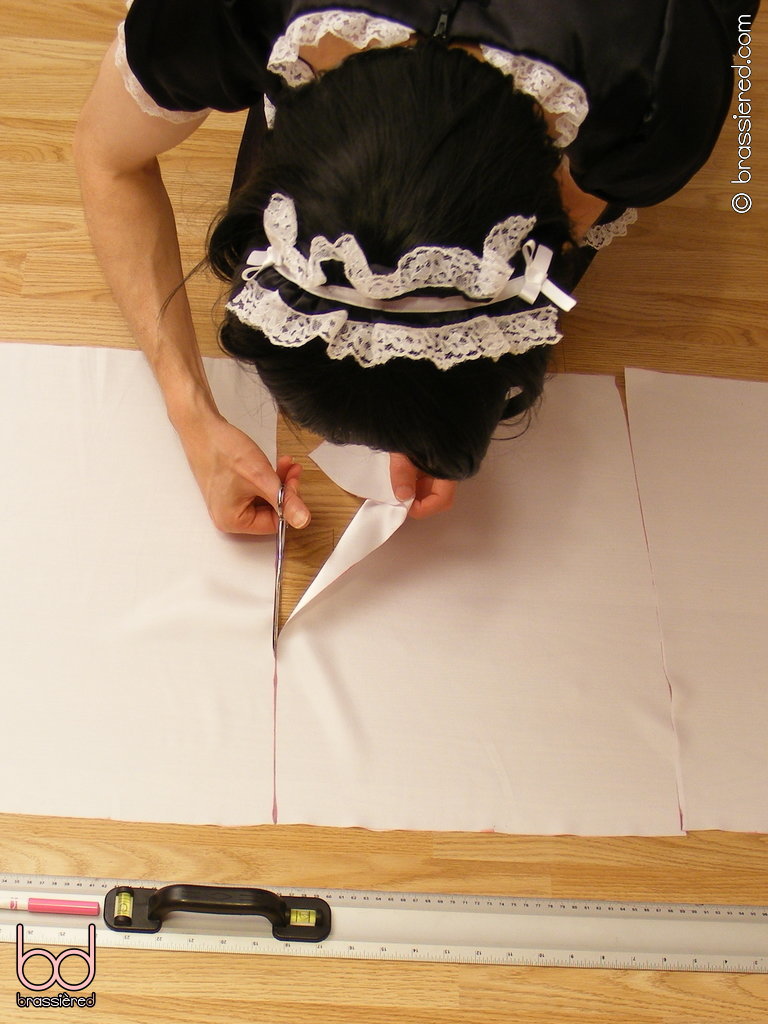
Once you've finished marking the strips, carefully cut along all the lines (Figure 4.10).
Cutting out the bib pieces
We'll now repeat the process on a smaller scale. Take the larger of the strips, and align its selvedge with a straight edge. In Figure 4.11, my husband uses the long ruler for this purpose. Having done so, draw a line along the start of the fabric proper.
From this line, measure along the cut edge by the length of your desired apron, namely your waist to mid-thigh measurement minus 5cm / 2”. Mark a point here, and a second point a further such distance along for the second bib. Draw lines between each of the points you've just marked, at right angles to the cut edges of the strip, as my husband does in Figure 4.12.
Cut along these lines to produce rectangular pieces (Figure 4.13).
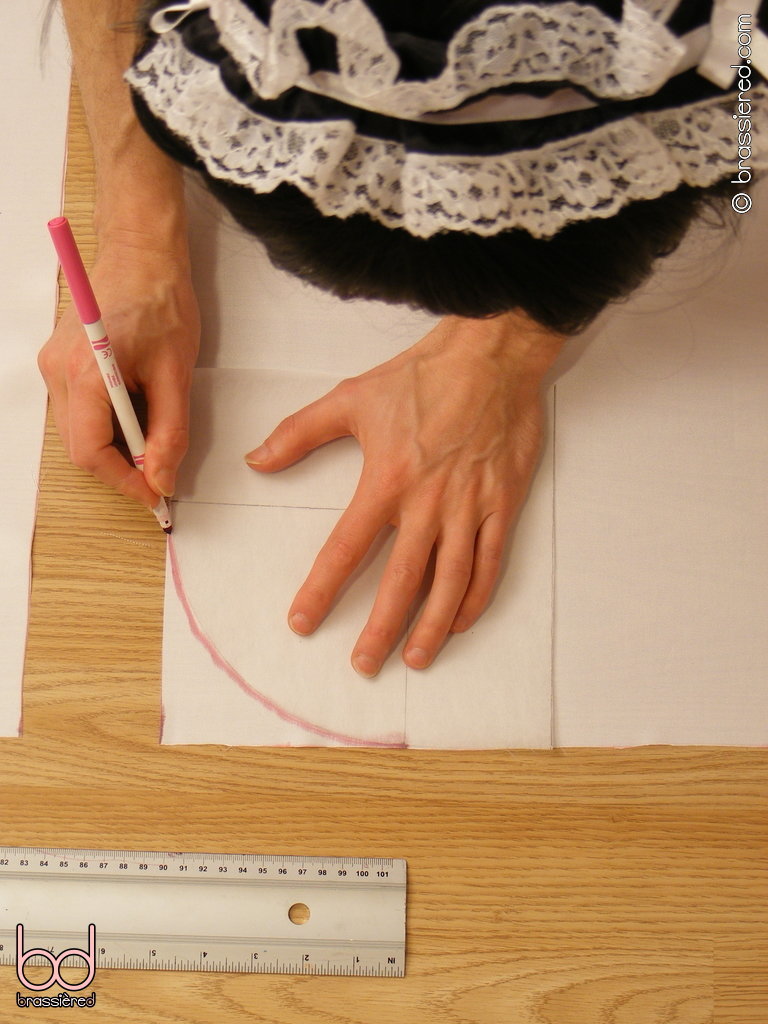
To add corners to these rectangles, align your apron curve template with the two straight edges and trace along the curve. Do so for both bottom corners of each bib, and then cut along the lines (Figure 4.14). Your bib pieces are now complete!
Cutting out the waistband pieces
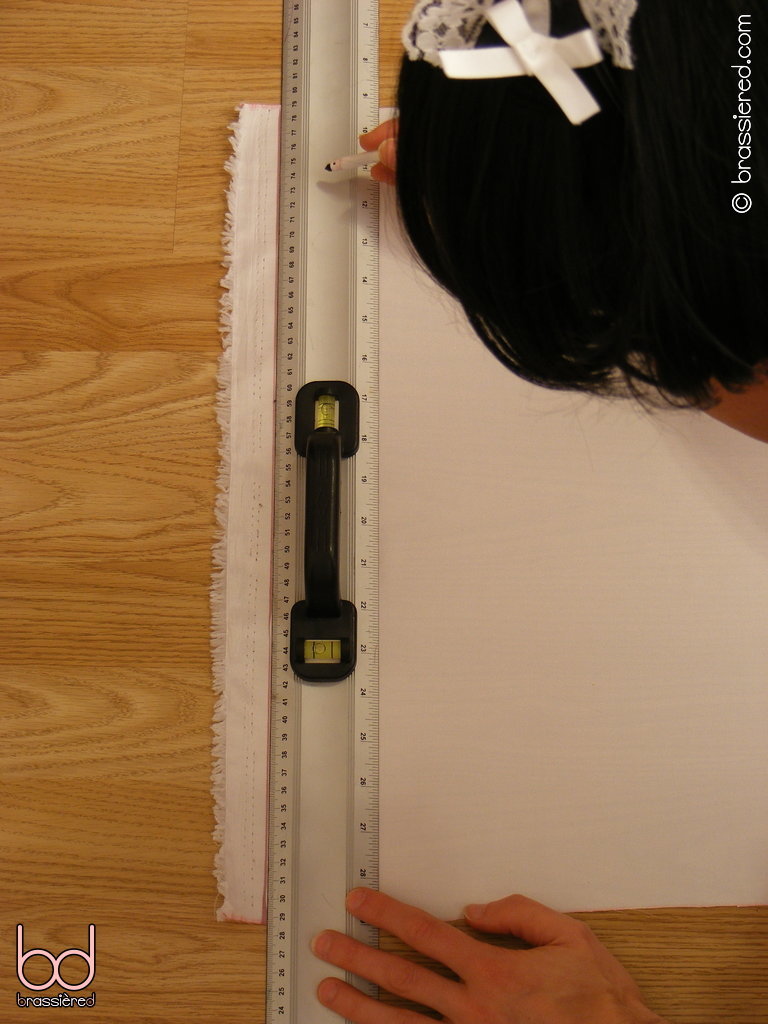
Take one of the smaller strips and repeat the process again, this time drawing the second line the width of your desired waistband from the selvedge line - the long ruler that my husband uses in Figure 4.15 is somewhat excessive here. Having done so, cut along the lines to yield your waistband piece in fabric.
Cut a strip of identical width from the fusible interfacing, but don't shorten its length - we'll do this when we come to ironing these two pieces together. As Figure 4.16 illustrates, you'll need to work with creases in the interfacing, but these shouldn't pose a problem.
Cutting out the tie pieces
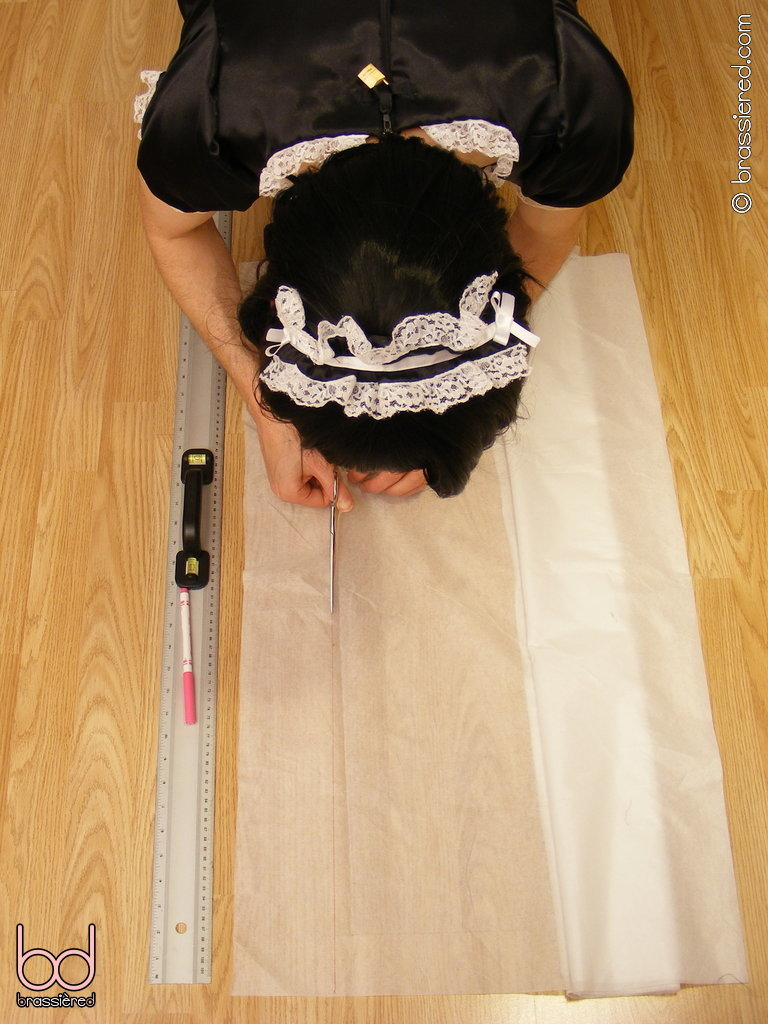
Take another of the smaller strips and fold it in two such that its selvedges are touching, as my husband demonstrates in Figure 4.17. Mark the middle, then cut along it to produce two tie pieces of equal length. You can leave the selvedges on them for now, as we'll be shaping their ends later.
We now have everything we need for the next chapter, where we'll actually start sewing!